
After the initial British defeat at the Battle of Pla, Vidal's British Battlegroup retreated north to Manreso, having suffered a sharp rebuff. The victorious French commander in Pla was somewhat surprised to find the same British Battlegroup bearing down on Pla in the second half of Turn 2. And thus, the Second Battle of Pla...

Spoiler alert! ...as can be seen on the map, Vidal's British Battlegroup E had been pushed back to Manresa (dotted red arrow) and then immediately began it's move back on Pla in the British half of the campaign turn (solid red arrow). The second dotted red arrow shows the British retreat to Terraga after the battle.
The pre-game unit selection procedure came up with 14 French units and 11 British:

As the French commander, I was quite pleased with the result. My force ended up with two proper-sized infantry formations (each with three formed groups and one skirmish group), a lovely little section of medium guns, and good cavalry punch.
The battlefield was then set up as an Encounter scenario from the main Sharp Practice 2 rulebook. This was a fairly straightforward battlefield with hills and rough fields. Force Morale was determined and both sides would start with 9 points. Support points were rolled for as per the scenario in SP2 and we both received 12 points.
 Perhaps I should read the campaign rules as compiled by.... well, me. "Ignore any Support Point options in Sharp Practice 2 scenario notes. Instead, the attacker rolls 1d6 etc etc." So we should have both received 6 points of support... oh well.

The battle began with cavalry deployments. The British and Spanish started toward the flank behind the large hill and the French lights deployed on the same flank to counter. The only clear advantage I had here was that I could create a formation with the two chasseurs units. Vidal, on the other hand, could not do this, as one unit was British and the other Spanish. The British infantry also made an early appearance in the center of the field. Five groups of British regulars can be a tough nut to crack... but I had a plan... yes, a plan! (did I mention that neither commander knew the composition of the enemy force at the start of the battle?...although we did know how many units)

French infantry deploy to support the light cavalry.

The dreaded British rifles deploy near the woods behind the hill. Besides the juggernaut that can be the British line infantry formations, the 95th Rifles are the unit I least like to see appear. And they had a marksman! I could only hope that there was only one of these units in Vidal's force.

British infantry prepare to advance with a skirmish screen and light gun in support. Textbook deployment!

French light cavalry advance to meet the British cavalry...side note: I've become a Front Rank fan-boy (actually, I think I've always been one) and these chasseurs are the perfect example of why).

British and Spanish cavalry prepare to move over the hill and engage the French light cavalry. The British rifles have ascended the big hill from where they could easily pick away at the French cavalry (especially with the added marksman). The French cavalry commander decided to move as quickly to the hill and the rifles duly scuttled away to the rear of the hill (they played little part for the rest of the battle... and no complaints from me!).


The resulting cavalry clash was a swirling affair spread across the hill, with much swaying back and forth... until the French lights finally broke, leaving their wounded commander in the clutches of the enemy. But I had a plan for this as well... yes, a plan!

Meanwhile, in the center of the field, the first stage of The Plan had come to fruition. I had deployed the two French medium guns on the central hill (in the background of the photo above) and promptly threw a couple of rounds of canister at the larger of the two British line infantry formations. You can see the result above. Three line infantry groups have been reduced to two depleted groups with a large helping of shock! So far, so good with the plan (did I mention I had a plan?)

In the French center, the force commander waited patiently for the outcome of the cavalry battle and the artillery bombardment on the British infantry. Some may say he was somewhat timid (or even cowardly) to keep the French infantry concealed behind the hill and out of the sights of the British lights and rifles. Pish-tosh! It was prudence... and no, that was not actually part of the plan. It was because, for the first half of the battle, I could get no other Big Men chips out of the bag to activate offtable resources (in particular, the other infantry formation with skirmish screen). As it turned out, this apparent lack of energy on the part of the French infantry (and/or the commander) played out well. The off-table infantry formation was never deployed...but not for lack of opportunity. By the time its Big Man was activatable, the situation didn't require their deployment at all (excpet perhaps to protect the guns... more of that anon). Again, not part of the plan... but it was fortuitous to have another reserve off-table, if required.

The second part of The Plan is activated...the Grenadiers a Cheval deploy to shore up the right flank and take advantage of the victorious but depleted Spanish and British cavalry. To be fair, the plan wasn't specific about where these monsters would be deployed, only that they would be held in reserve until just the "right" moment. I had actually considered deploying them on the left flank against the shattered British line infantry formation but there were too many hedges and rough fields to navigate before they could have made contact. Thus, the right flank and the "right" moment beckoned.

In the center, Vidal boldly pushed his light infantry towards the French guns. This was a most unexpected turn of events... and definitely not considered in The Plan. The British lights charged the guns and drove them off! A great tactical move and it could have cost me the game. The French Force Morale at this point was at 3 but thankfully, because of the repeated pounding of the French guns on the British infantry, the British Force Morale was at 2.
Don't leave your guns unsupported! I had had the opportunity to deploy the off-table French infantry formation beside the guns (and straight in the path of the future British light infantry advance) but passed on the chance. I had become besotted with the image of British infantry falling like nine-pins under accurate and devastating French artillery fire. And I was also more than a little obsessed at this point with trying to win the battle without having to use the infantry reserve. These oversights almost lost the battle for me.
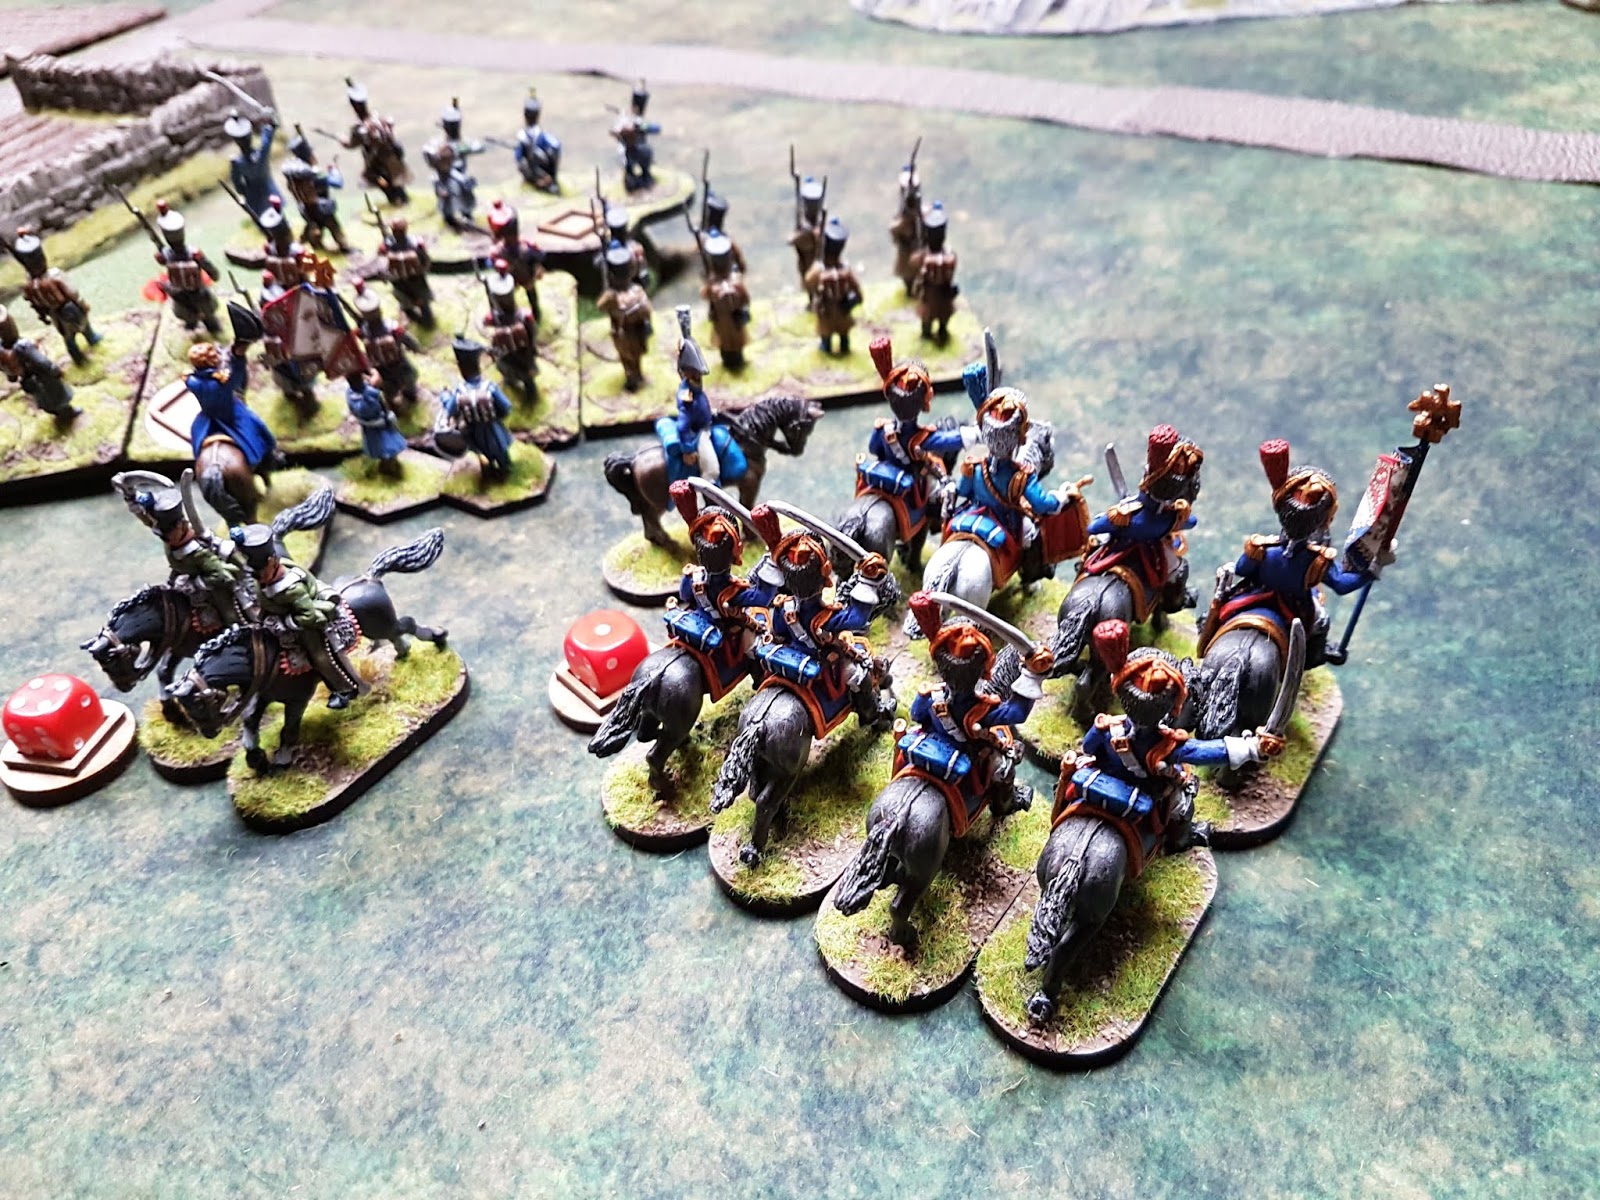
Grenadiers a Cheval advance past the remnants of the French light cavalry, confident in their ability to best any of the Emperor's enemies.

And the situation after the glorious charge and the Spanish cavalry dispersed. This was the last action of the day as the Spanish defeat brought the British Force Morale down to zero.
A Crushing French victory! Vive l'Emperuer!!
And that's not just hyperbole... that's actually the result as spelled out in the rules. Getting the enemy Force Morale to zero (and thus also achieving your scenario objectives by default) is the best result possible. Vidal's Battlegroup will suffer a 30% down 1 modifier to go with the pre-existing 20% down 1 modifier for future battles. Ouch! My Battlegroup, conversely, receives a 30% up 1 modifier. British Battlegroup E retreats to Terraga and we move onto Campaign Turn 3.
No comments:
Post a Comment