
Inspired by the wonderful work of Mike at dreispitz.blogspot.com, I decided to try my hand at a new terrain project to complement a new project. Muskets & Tomahawks II has recently been published by NorthStar and a look at the gorgeous figures associated with the release made me take the step into the French & Indian War. So onto another slippery slope...
I've been wanting for some time to build a small stockaded fort for my War of 1812 collection and thought that with new FIW figures winging their way to me through the ether, I'd spend the time waiting by starting on a frontier fort that could be used for the War of 1812 or FIW.


I decided first to try out a test piece based on the version in dreispitz.blogspot.com. The core of the wall section is blue foam mounted on 3mm mdf. The boards are wooden stir sticks, suitably distressed by rough sandpaper and "inaccurate" cutting. I wanted the wooden walls to look as rough cuts so "measure twice, cut once" was replaced with "roughly measure once, roughly cut once."


Satisfied with the test piece, I moved on to try out some corner pieces. Built the same way as the straight piece, I decided to raise the level slightly to provide a bit of variety in the overall design.


Mid-build, I decided to throw the fort (as it was) out on a table to take a look at it with my existing gabion fortifications (these are from the now defunct Architects Of War). I also put out my Old Glory blockhouse to see how the different elements might fit together. This was also a practical break from the tedious work of cutting and sanding a seemingly unending series of wooden planks.


After much Youtubing, sanding and distressing, I had all the current* pieces together and ready for colouring. All were primed black before grey and white dry-brushing. Over this initial drybrush went a coat of GW Agrax Earthshade, mixed with a bit of GW Contrast SnakeBite Leather. This provided a lovely wood tone. But since wood is rarely brown after any time exposed to the elements, several more layers of greys and tans were dry-brushed on top. I also added a light greenish wash to the lower areas and between some boards to simulate organic growth.
*I say "current" because there is always room for expansion :)
Last step was to finish up the bases in my regular style: wood filler, sand/rocks, dry-brushing, static gras, and tufts. No rocket science here. Et voila!


Another addition from the terrain factory are some new trees. I found some coconut fibre matting (from the local gardening center) and hot-glued this to some spare Woodland Scenics armatures (the coco fibre is a cheap and easily-sourced alternative to rubberized horse-hair). These were then flocked and sealed. The biggest of these trees is approx 9 inches tall! So a nice addition to the collection. Others were made with Woodland Scenics ground foam and placed on multiple-tree bases. Another set mixed in there are some 20+ year old O scale railroad trees that have gone through at least four refurbishments over the years.
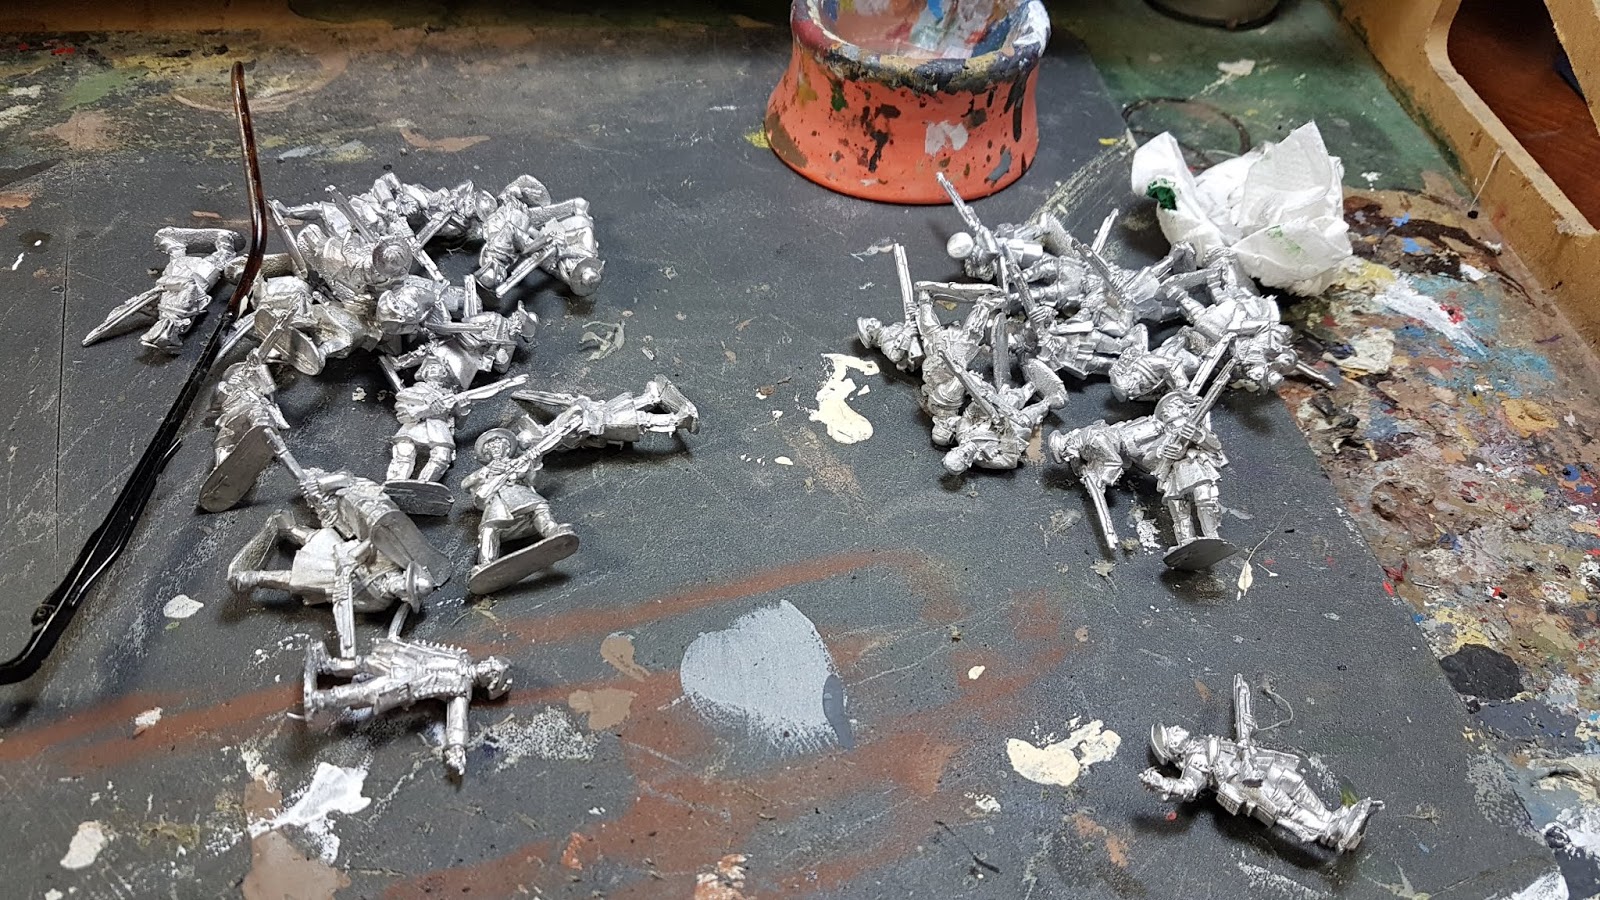
And what arrived at my front door yesterday? Northstar British rangers and regulars!
Great piece mate, a lot of work on the piece
ReplyDeleteCheers
Matt
French Wargame Holidays
Hi,
ReplyDeletelooks very cool.
Many thanks for infos about my blog. :)
Cheers
Mike
Thanks guys!
ReplyDelete@Mike... your blog is a great inspiration!