
Last weekend, Michael and Melissa continued on with Turn 2 of the Bloody Bucket campaign. At the end of the first battle in Turn 2 (see here), Melissa acted as any good German commander and pulled the Blitzkrieg! card. This allowed the German platoon that had won the battle on Battlefield 3 (Holzthum) to immediately carry on and attack an adjacent battlefield, before calculating casualty returns etc. The platoon would also NOT receive any new support points for the second battle; instead it would utilize the supports gathered for the first battle. Melissa chose to backtrack on the campaign map and attack Battlefield Two.
The German platoon (Platoon 1, in campaign terms) had taken some serious casualties and Melissa started the second battle with this:

Ignoring the four cavalry patrol markers and the three vehicle JoPs, the German force consisted of two under-strength LMG sections, one under-strength sturm section, two senior leaders and two panzerschreck teams.
Facing them was a full-strength US platoon (again, ignoring the jeep Patrol markers):

This scenario sees the Germans attack into the eastern outskirts of Holzthum, having defeated the Americans at Battlefield Three. They begin the game on the edge marked B. The Germans may elect to fight this battle at an Attack & Defend or a Probe Scenario*. In all cases, the Germans begin with all of their Patrol Markers along the edge indicated depending on their approach route, the Americans place their Patrol Markers on the road, as shown by the Allied Star.
*Melissa chose the Probe scenario.

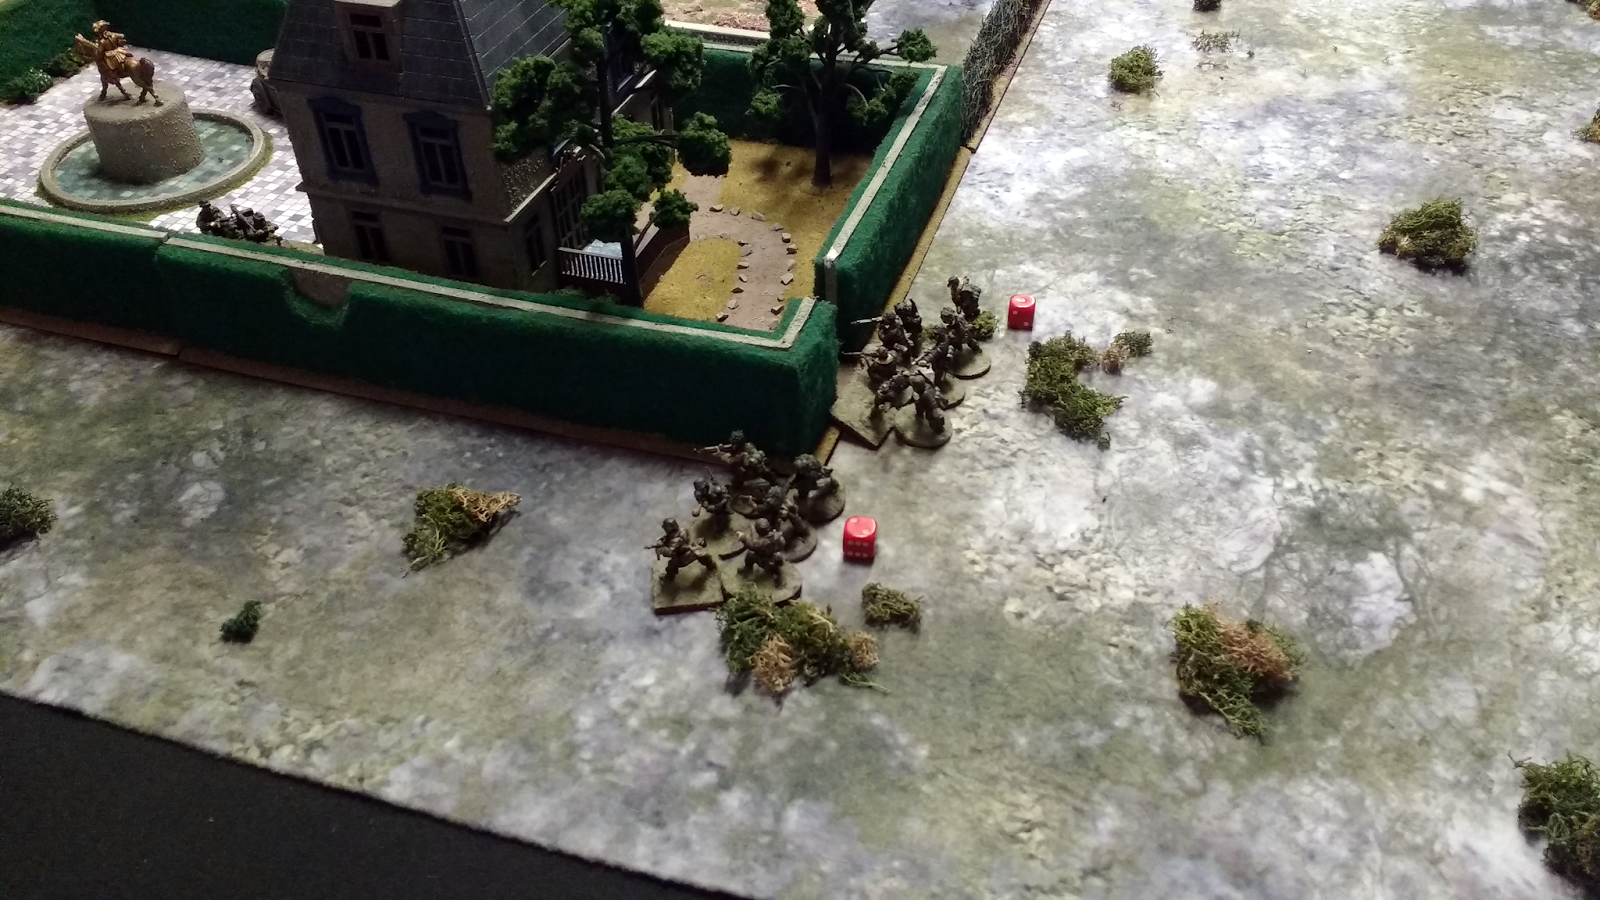
I've asked Michael add some game commentary, as I wasn't present for the game. Apparently it was an American victory! In the meantime, some shots sent from Michael's phone:


No comments:
Post a Comment